Connecting to Printers on a Zenbook
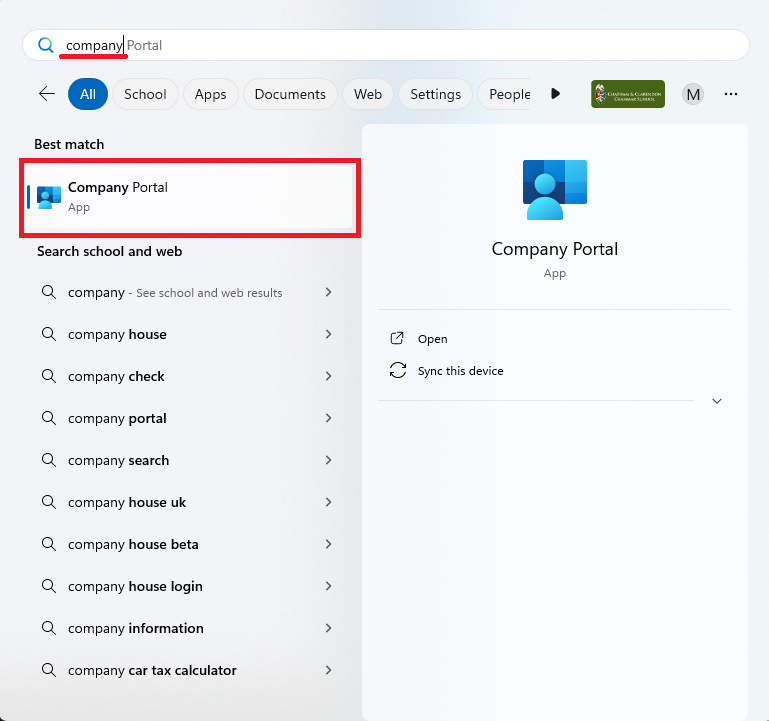
Open the start menu by either pressing the windows key on the bottom left of the keyboard, or clicking the windows icon in the middle of the task bar.
Then begin typing 'Company Portal'
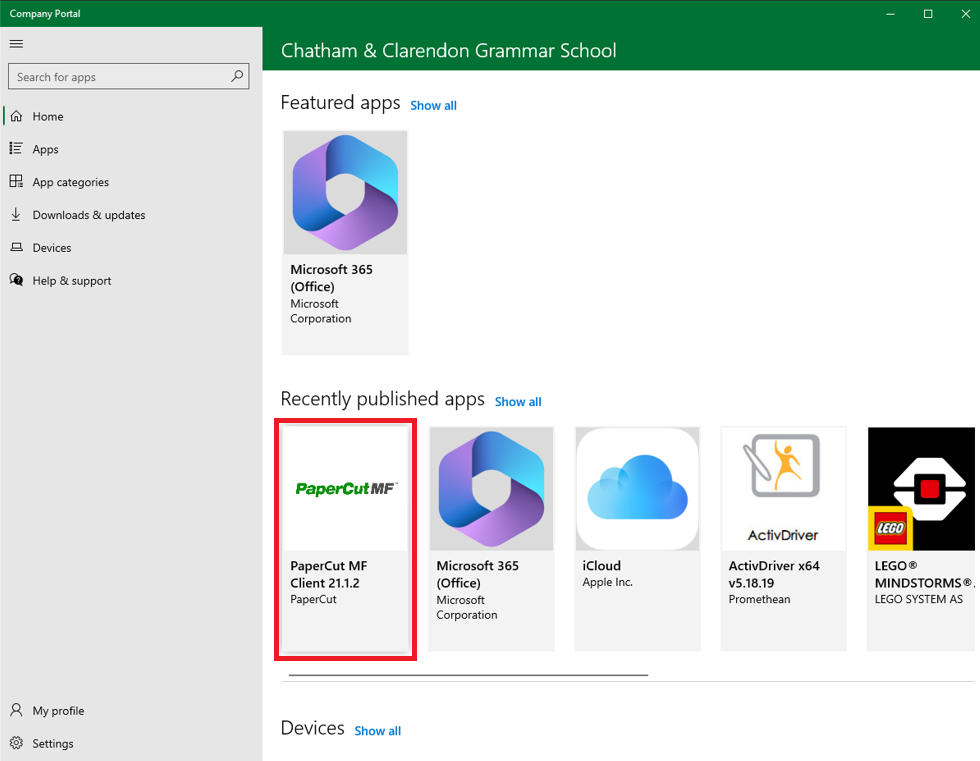
Once you open the company portal, you will find the PaperCut MF software along the 'Recently Publish' band.
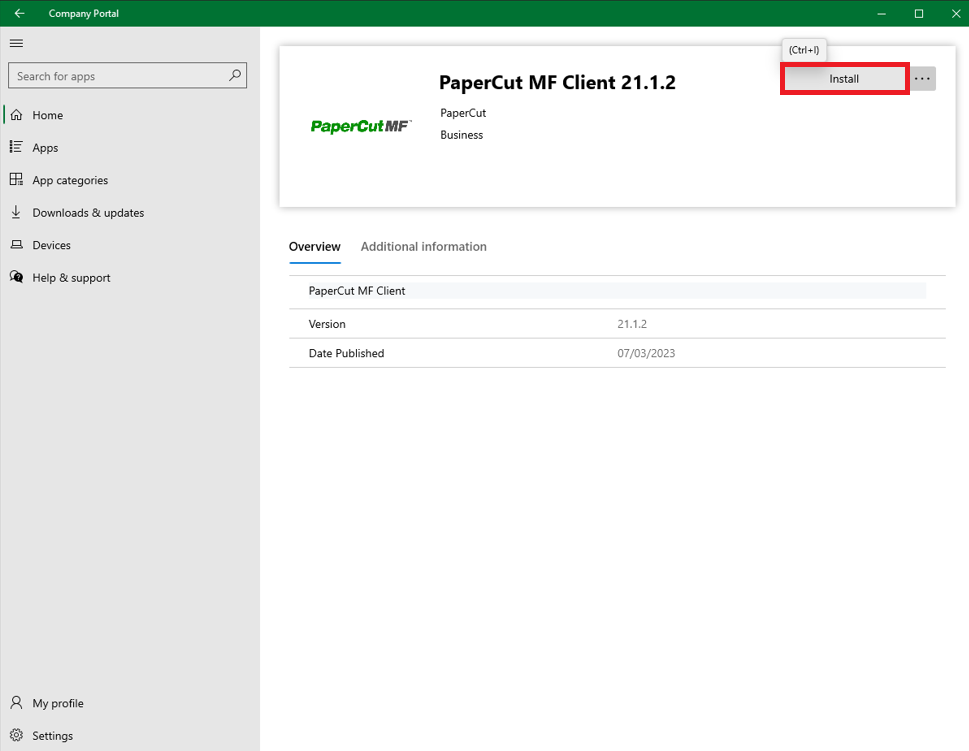
Select the PaperCut software and click on install. Once the install button reads 'Reinstall'. the software has been installed and you can close the window.
To add the printers, open the file browser (yellow folder on taskbar) and either type or copy and paste the following into the address bar '\\claprint\printshortcuts" and press enter.
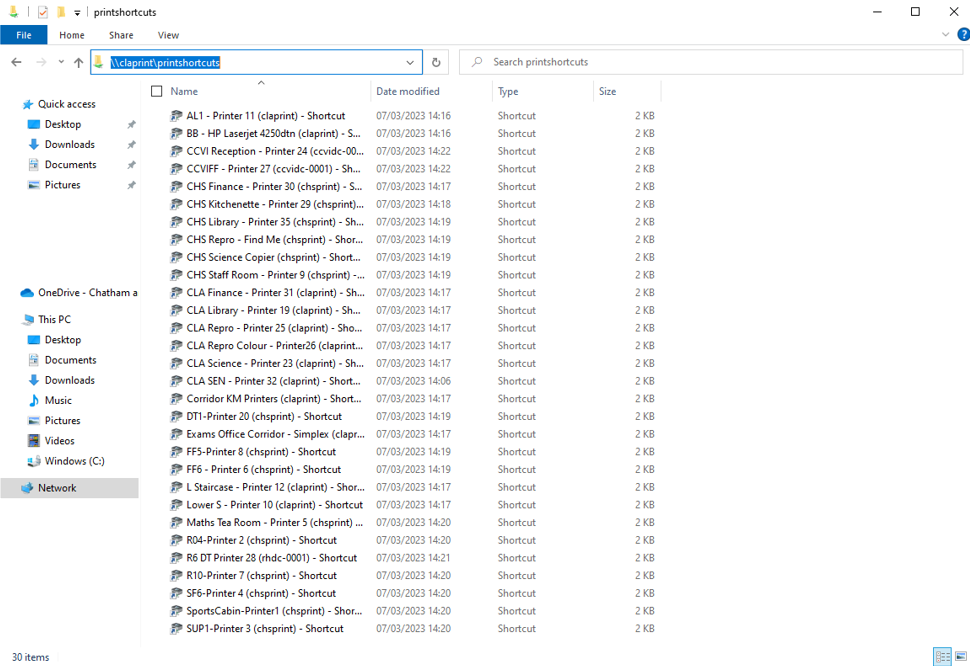
Double click on the printers you wish to install on the laptop. If a window appears requesting permission, click yes. The printers will then be installed and ready to use.
If you have previously used the printers through the 'Mobility' software, you will need to remove them. Please follow the steps below to remove old printers.
Open the start menu by either pressing the windows key on the bottom left of the keyboard, or clicking the windows icon in the middle of the task bar.
Then begin typing 'Printers & Scanners'
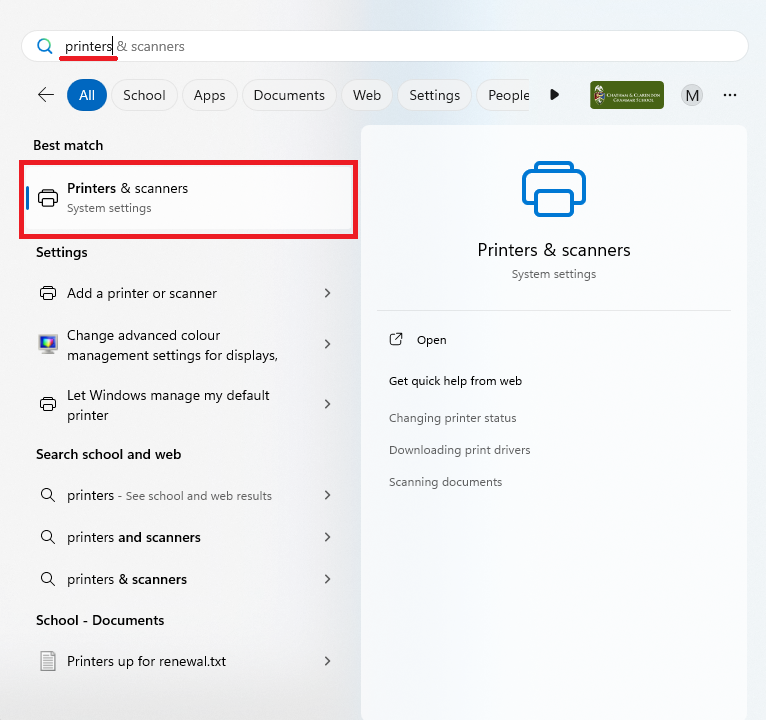
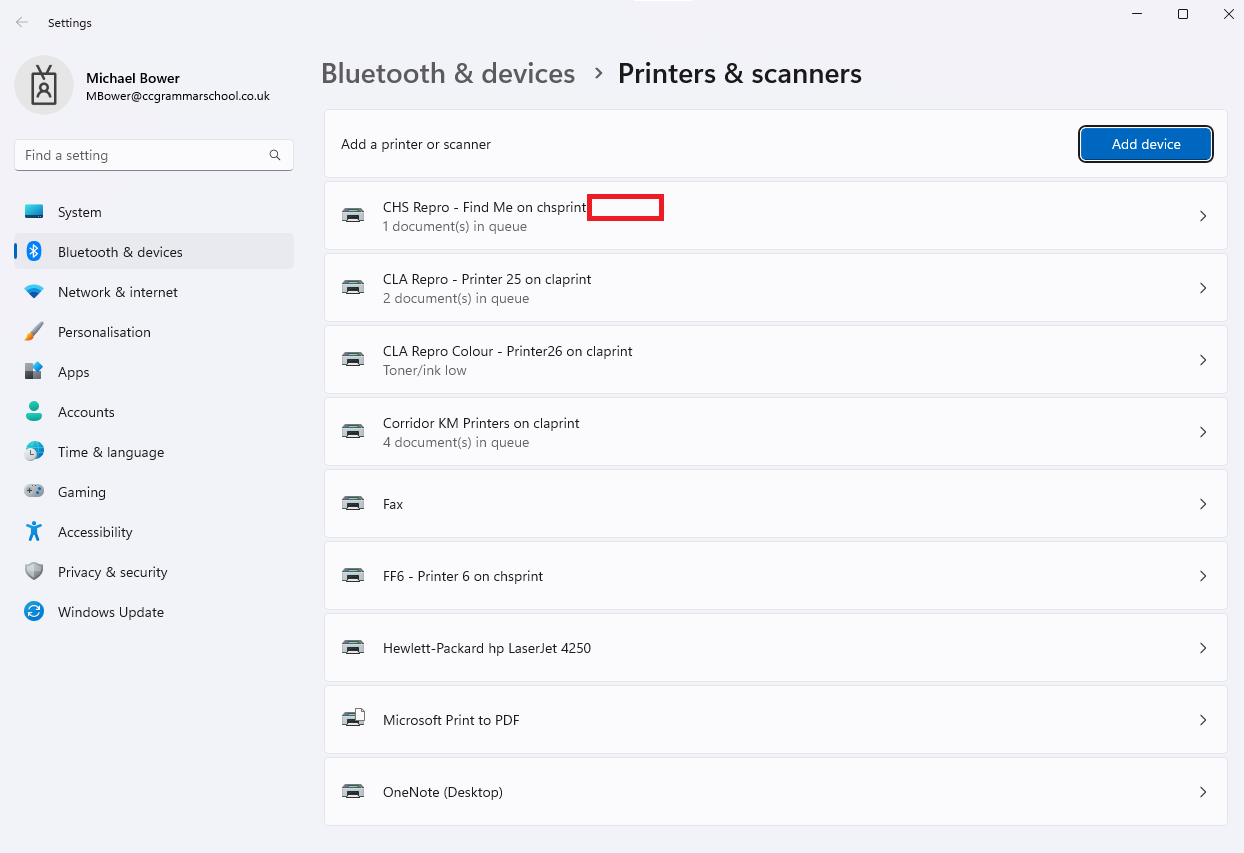
Click on 'Printers & Scanners'. From the list, you will need to remove any printers that end with '(Mobility)'. This will be visible in the marked area below.
You are now ready to print. If you encounter any issues, please submit a support request with the IT team.